Intro steps for Website Builder

All we need from you is to follow steps 1 – 4.
We have prepared a step-by-step guide with screenshots and gifs that will take you by the hand and lead you through each stage separately.
Before diving into the details, let’s have a look at the big pictures. These are the main steps:
- Open an account with a hosting provider
- Buy your property domain name
- Get a managed WordPress hosting plan
- Open a payment processor account to accept credit card payments
Step 1: Open an account with GoDaddy (or any other hosting provider you prefer).
The first step will be essential for you to create your website, choose a domain, and connect it to your actual website.

- Go to GoDaddy.com.
- Click on Sign In.
- Click on “Create My Account”.
- Write down your email, choose a username and password, and agree to the terms & services.
- This will take you straight to the Products page.
Click on the image above to see the process step by step
Step 2: Buy Your Property Domain.
[top]
Now before you actually buy your property domain, there are a few things that you need to keep in mind. Here are a few tips on how to choose your domain name:
- Give a name that will differentiate you from other players in the market. Be as unique as possible and stray away from generic names.
- Your domain name does not have to be your property name.
- Your domain name should be an extension of your brand. Stay consistent!
- Use a domain that includes your brand name and make sure it’s easy to spell.
- Use keywords in your domain name. For example “NewYorkSkyHighApartement” vs. “Apartment James”.
Here’s how to buy your property domain:
Click the image below to see the process step by step
- Go to GoDaddy’s Domain Name Search page.
- Write in your preferred domain name in the search and press on search.
- Check whether or not the domain is available for us. *Tip: If it’s not, GoDaddy suggests similar domains that are below
- Click on Add to Cart.
- Then, click on Continue to Cart.
- You will be prompted to write in your Billing Information next. This includes name, phone number, postal code, and address.
- Here, make sure sure you register your domain for the number of years you want (1 or 2 years)
- Next, you’ll go to Payment.
You’re done!
In this case, we’ve chosen ellicottvillehideaway.com as our domain name.
Step 3: Get A Managed WordPress Hosting from GoDaddy
This is when you realize how easy it is to build your website.
With this one-click process, you’ll be able to build a website without a professional interfering. WordPress is a cost-effective and user-friendly website that helps you build and run your website in no time. Whether you have a small hotel, a b&b, or even just a room, you’ll find that a managed WordPress will work for you.
A Managed WordPress is an optimized hosting platform on GoDaddy that helps you:
- Make your WordPress run more securely.
- Helps you manage basic tasks like installation, backups, updates, and performance-enhancing caching.
- And helps you have everything on one platform.
To sum it up, a managed WordPress does the heavy lifting for you. You don’t need to be tech-savvy to even make your site load faster.
Here’s how you do it:
Click the image below to see the process step by step

- Go to WordPress Managed Hosting.
- Choose the Basic package ($6.99) to Add to Cart.
- Fill in all the information needed and purchase.
Important: In order to be able to set up Adomus theme correctly, you need to disable the CDN in GoDaddy’s settings.
> Go to My Account → Managed WordPress → Production Site → CDN → Disable (green switch button)
Now, we’re going to leave the GoDaddy website for just a bit for the next step.
Step 4: Open Stripe to accept cards.
Now we need to make sure that not only do you build a property website but that it’s also fully operating by the end of this process and you’re ready to accept your first direct booking. For this step, we’ll be using Stripe. Stripe is a payment gateway solution that allows individuals to open an operating account.
In case that Stripe does not support your country, please check all the available payment gateways here.
Here’s how to open a Stripe account:
Go to Stripe & Create an Account.
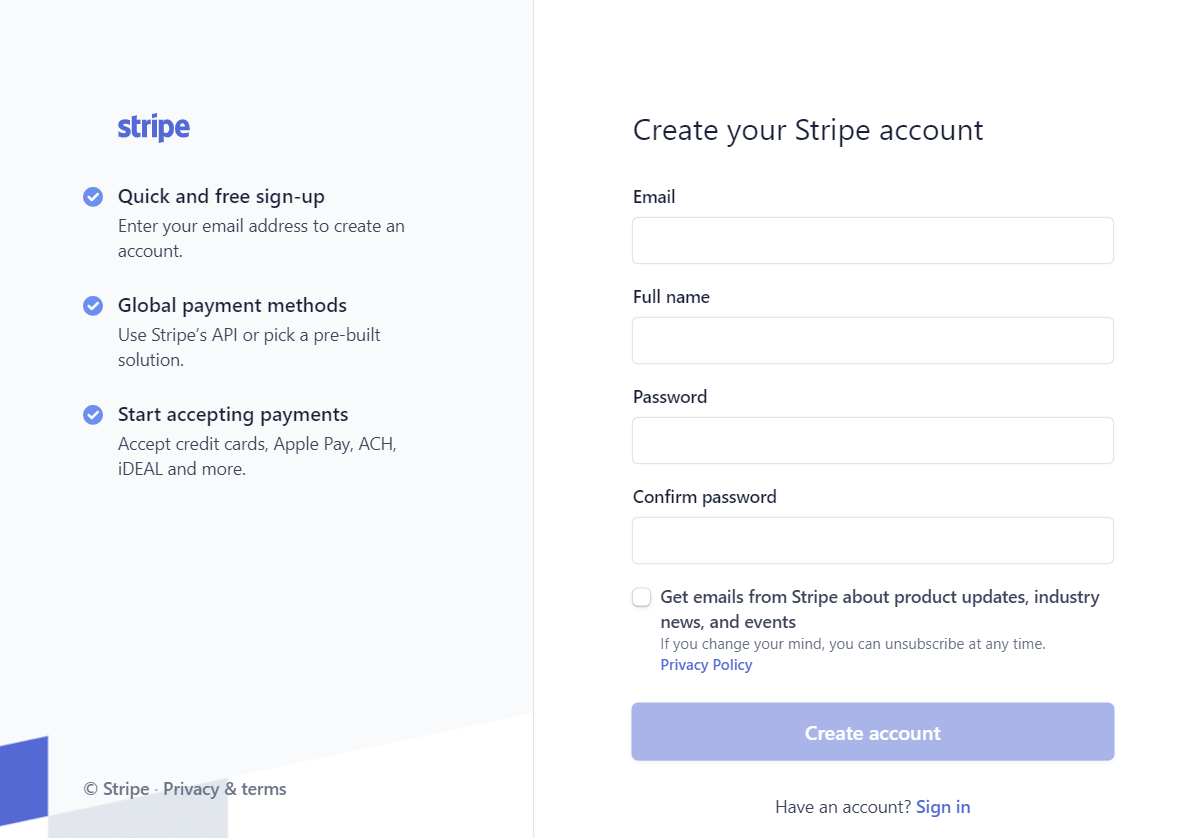
- Go to Stripe’s Signup form.
- Choose your country where you’ll be doing your business & where your bank account is located.
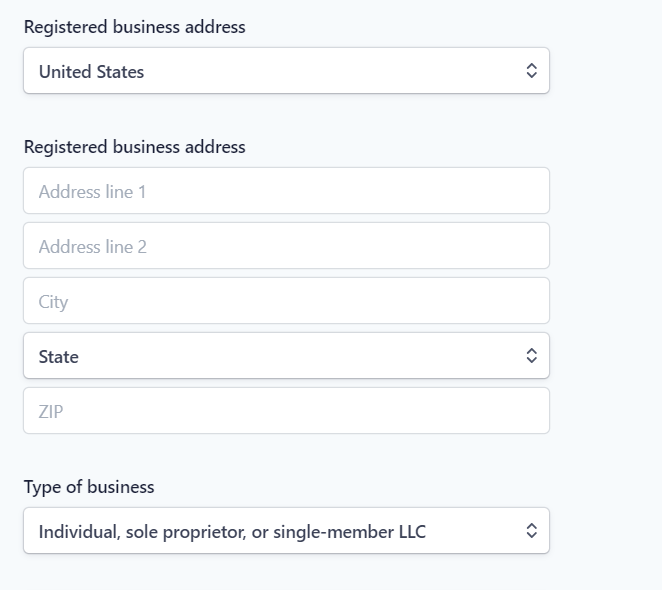
- Log in to your account, fill in all your details including:
- Account details.
- Social security number.
- Address.
- Credit card statement details.
4 . Once you’ve signed up, use the toggle in the top-left of the screen and click on Activate Account. This makes your account live.
5. You will need to make sure you get your set of identifiers called API Keys. Click Account, then Account Settings and select API Keys.
6. Copy the Live Secret Key and the Live Publishable Key and keep them saved.